- 登入
- 註冊

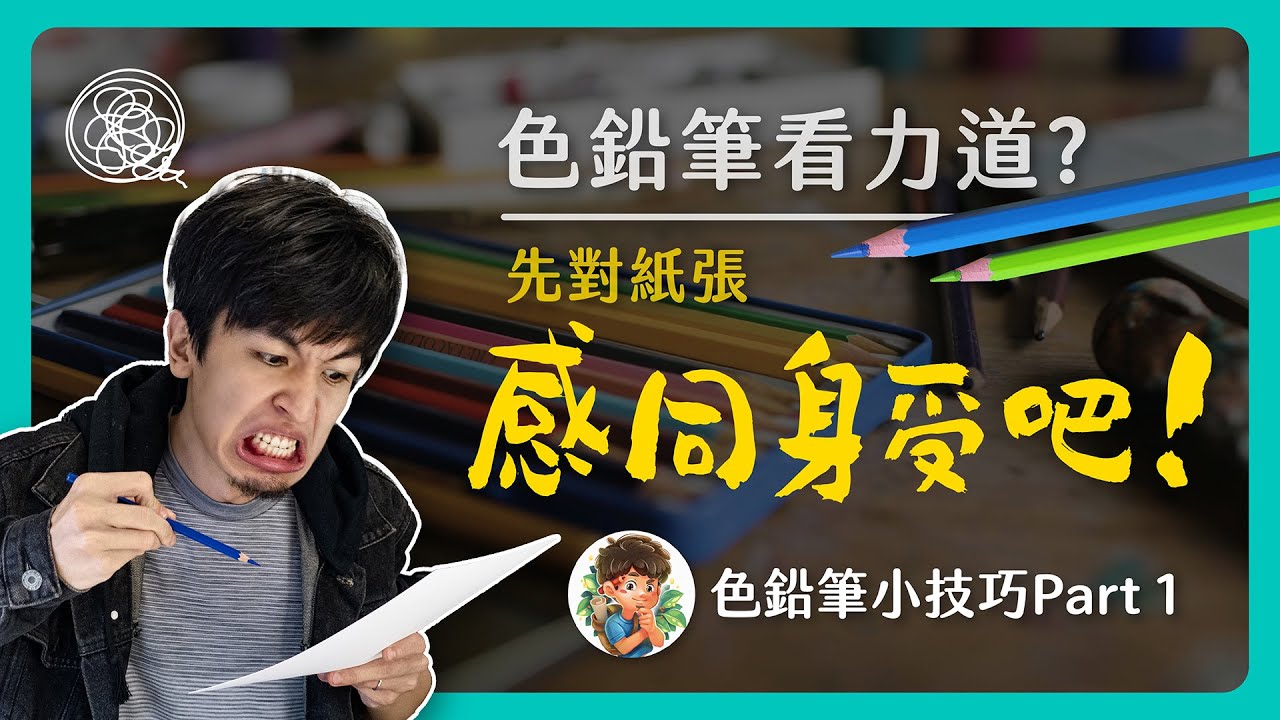
色鉛筆小技巧PART.1
畫色鉛筆前,先對紙張感同身受|十分鐘學會力道掌控|色鉛筆教學|色鉛筆入門
色鉛筆力道掌握技巧(精簡版)
控制水量是水彩的核心,而控制力道則是色鉛筆的靈魂。許多新手經常聽到「筆要拿輕一點」但究竟該怎麼做呢?這次分享 4 種力道技巧,幫助你改善色鉛筆運用。
破除迷思:畫輕 ≠ 出力小
許多人誤以為「畫輕一點」就是手要施加更少的力,但事實上,每種力道的施力大小相近,關鍵在於施力方式的不同。
- 握筆方式:避免使用寫字習慣的握筆姿勢,嘗試握筆靠後或中段,讓手部力量更均勻地施加在紙張上。
- 紙張選擇:建議使用模造紙,避免使用易損的圖畫紙,以獲得更好的繪畫體驗。
4 種色鉛筆力道技巧
力道 1:雞毛撢子(最輕的筆觸)
想像握著雞毛撢子,輕輕拂去灰塵
- 力度極輕,施力範圍小(約 1-2 公分)
- 在紙張上表現為輕柔無明顯線條的筆觸
- 適合打底、營造柔和漸層
力道 2:湯匙攪拌(順滑填色)
想像用細湯匙攪拌蜂蜜水
- 帶有一定的阻力與慣性,手部稍微旋轉
- 施力範圍約 1 公分,感覺像刮癢,但不疼痛
- 適合填色、過渡色彩,能創造均勻漸層
力道 3:筷子夾豆(精細處理)
想像用筷子夾住一顆綠豆,需穩定出力
- 力度更強,手部施力較集中
- 會讓紙張表面稍微產生「刮痕」,但不應該太深
- 適合描繪細節、強調輪廓與陰影
力道 4:牙籤戳水果(最強力道)
像用牙籤戳水果,力道最強但要謹慎使用
- 僅適用於細節強調、刻畫銳利邊界
- 若筆觸太重,可能會傷害紙張,需謹慎控制
如何練習與應用
- 先熟悉力道 1 和 2,這有助於漸層與填色技巧。
- 混合不同力道,根據需求轉換筆觸。
- 避免過度施力,避免紙張受損或產生不均勻筆觸。
結語
掌握色鉛筆的力道,能夠讓作品層次更加豐富。如果你覺得這些技巧有幫助,歡迎訂閱與分享!未來還會有更進階的混色技巧介紹~
Mastering Colored Pencil Pressure Techniques (Short & Sweet Guide)
Controlling water is the heart of watercolor, but controlling pressure is the soul of colored pencils. Beginners often hear, “Use a lighter touch!”—but how exactly do you do that? Here are four pressure techniques to help you improve your colored pencil skills.
Breaking the Myth: Light Strokes ≠ Less Pressure
Many people think “drawing lightly” just means using less force, but in reality, the amount of force remains fairly consistent. The key lies in how you apply it.
- Grip Adjustment: Avoid holding your pencil like a pen for writing. Instead, try holding it further back or in the middle to distribute pressure more evenly.
- Paper Choice: Use smooth drawing paper (like Bristol or mixed media paper) instead of rough sketch paper to achieve better results.
4 Colored Pencil Pressure Techniques
Pressure 1: Feather Duster (Softest Touch)
Imagine lightly dusting off a surface with a feather duster.
- Very light pressure, applied over a small area (1–2 cm).
- Creates soft, barely visible strokes.
- Great for base layers and smooth gradients.
Pressure 2: Stirring with a Spoon (Smooth Coloring)
Picture stirring honey water with a small spoon.
- Slight resistance with a gentle circular motion.
- Applied over about a 1 cm area, like lightly scratching an itch.
- Ideal for even coloring and smooth transitions.
Pressure 3: Chopsticks Holding a Bean (Fine Details)
Think about holding a green bean firmly with chopsticks.
- More controlled pressure, focused in a small area.
- May create slight texture on the paper, but shouldn’t damage it.
- Best for detailing, defining edges, and adding shadows.
Pressure 4: Toothpick Piercing a Fruit (Strongest Pressure)
Like poking a fruit with a toothpick—strong but careful!
- The most intense pressure, use sparingly.
- Perfect for sharp details and crisp edges.
- Be cautious! Too much force can damage the paper.
Practice & Application Tips
- Start with Pressure 1 & 2 to build smooth gradients and even layers.
- Combine different pressures for depth and texture.
- Avoid pressing too hard to prevent unwanted marks or paper damage.
Final Thoughts
Mastering pressure control will add depth and richness to your artwork. If you found these tips helpful, feel free to subscribe and share! Stay tuned for advanced color blending techniques in the future.


